
How do you give a lead a feel of your product minus the hassle of signing up, entering non-essential details (City and State – really?!), or sitting through a lengthy guided demo when they just want a quick evaluation? What’s the middle ground that offers a hands-on experience showcasing your product’s awesomeness? A cool interactive product tour where your prospective (fingers crossed!) customers can actually explore your product quickly and at their own pace. A hassle-free ice-breaker of sorts. I’ll walk you through five best practices to get started on creating one of the best lead-gen tools – an Interactive Product Tour.
#1 Know Thy Product and Customer. Redux.
Go over your product roadmap and upcoming milestones and you’ll get some helpful insights. Perhaps it’s worth spotlighting a feature you’ll are heavily investing in or a feature that isn’t getting its due. Review your competitive analysis and battle cards and note down the USPs .
It is also well worth revisiting your target persona documentation once again, their pain points and challenges. Is there any persona that requires a dedicated tour? And finally, speak to Sales and document their demo sweet path for leads. Understand what are the common queries, the impactful features that make the connect, the optimal duration of demos, and the tweaks in the demos for the various target personas. Crucial info, particularly as your tour will typically be the “n-1” step before the lead starts the trial and/or books a demo with pre-sales.
#2 Check Analytics to Fine-Tune and Personalize
Marketing automation has replaced the guesswork with solid data points that will yield more predictable (and favorable) outcomes. Use it to fine-tune your interactive tours such that they pack a punch and to personalize them where possible.
- Examine the data from your product user interaction analytics tools such as Hotjar or Mixpanel, particularly for the Trial version of your product. Where are users dropping off? What are the important product features that are being overlooked by users? What feature is sub-optimized?
- Check your website analytics tools to examine the typical content touchpoints in their journey from lead to conversion.
- Check the past campaign data from your inbound marketing and ABM tools and the Sales CRM tools to better segment your product tours according to user roles, geo-locations, industries, etc.
#3 Zone in Your Tour Goals
What are the expectations of the stakeholders from the interactive product tour? Prioritize them. Will they be used as a main CTA for your website visitors, a product guide, pre-sales demo, and/or for in-app onboarding? For instance, you may want to start with a quick walkthrough tour, followed by pre-sales demos of complex flows, and then move on to product guides, regional location/industry-based tours, and perhaps white-label ones for partners/MSPs.
#4 Choose the Best-fit Product Tour Tool
Don’t reinvent the wheel. There are a bunch of great options that are simple and modular to use. Here are some tips to help you choose the “best-fit” product tour software.
- Use the data from #1, #2, and #3 above to list out your must-have requirements. Perhaps fancy AI isn’t a priority, but rather a tool with a modular dynamic approach such that you can mix and match demo chunks.
- Check on how customizable the tool’s look and feel is and on personalization options.
- Does the tool connect with the analytics ecosystem that you are using?
- How responsive is customer support? A biggie – especially during the adoption phase. Check forums and rating sites.
- Sign up for free trials and get a hands-on feel of the product and its features. Involve other members of your team who will be creating demos and your designer too so they can explore branding options.
#5 Set up the Chosen One
After you’ve got your requirements in place, your demo sweet path is finalized, and you’ve zoned in on your tool, you’re all ready to set up the chosen tool. Your designer can get the branding look and feel in place while you and your team members can work on building the tours. Get product captures of the sundry tour paths from your test app, product and/or sales. Remember to keep it highly modular – breaking it into plug-and-play pieces that you can use to quickly create new demos of differing levels/durations and for different industries and persona types. Explore various styles – tooltips, modals, checklists, and popups. Build it in an agile iterative manner – after you set up a basic tour get feedback from your team, Sales, and Product and improvise. Check that your CTA UTM parameters are in place, so the results are measurable when you go live.
And that’s it, follow these 5 steps to create your first rocking interactive product tour. But don’t forget to keep revisiting the steps to improvise and grow your product tour versions to make that crucial connection with your lead.
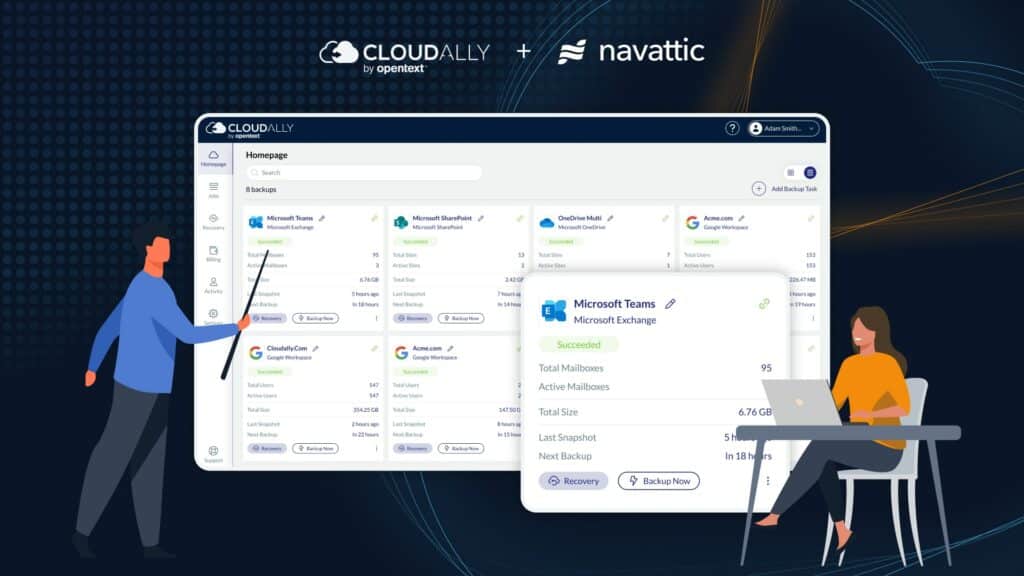
Sample Our Interactive Product Tour
We followed these 5 steps using Navattic as our tool of choice. We zoned in on our best-selling M365 backup solution for an overall interactive product tour and created variants for backup, recovery, and a showcase of our security features. Try our Interactive Product Tour now! and do share your thoughts.