

SharePoint has seamlessly replaced the organization’s water cooler/communication hub in our world gone remote. With powerful team collaboration mechanisms and integration with Flow and PowerApps that enable it to be the bedrock of the corporate intranet, SharePoint holds business-critical data and workflows. How do you backup and restore SharePoint data, mitigating the risk of damaging data loss, while ensuring compliance? We explore manual backup, native SharePoint solutions, and third-party options to backup and restore SharePoint sites.
In this article:
Native Backup Options for SharePoint Sites
Backup of Site Collections via PowerShell
You can backup SharePoint sites via Powershell. After setting up PowerShell (instructions here), follow the instructions below
# 1 Establish a connection with the Microsoft 365 (Office 365) tenant
Connect-PnPOnline -Url https://powershellsp.sharepoint.com/sites/OrgIntranet
where the site address should follow the “–Url”. It is https://demoppm4.sharepoint.com/sites/Intranet in our example.
powershellsp – is the tenant name
sites/OrgIntranet – is the site name where the file is stored

#2 The “Get-PnPFile” command is used to back up a file from SharePoint to a local folder
Get-PnPFile -Url "/sites/Intranet/Docs/Partner/VendorList.xlsx" -Path C:SPBackup -FileName "VendorList.xlsx"
We are copying the “VendorListxlsx” file from the folder “Partner” of the “Docs” document library on the “Intranet” site to the local computer with the path “C:SPBackup”. As a result, the file is copied to the “C:SPBackup” folder.
Backup of Site Collections via Central Administration
# 1 Under Central Administration, in the Backup and Restore section, click Perform a site collection backup.

#2 Select the site collection you wish to backup. Enter the local path of the backup file and Click Start Backup.

Note: You can view the general status of all backup jobs at the top of the Granular Backup Job Status page in the Readiness section. You can view the status for the current backup job in the lower part of the page in the Site Collection Backup section. If you receive any errors, you can review them in the Failure Message column of the Granular Backup Job Status page.
Disadvantages of SharePoint File Backup using Native Options
- No auto-backup of New Sites: Users keep creating new sites, document libraries, and folders, and the onus is on you to update your backup.
- No Failure Alerts: You will not be notified about the script failure to be able to fix a potential issue.
- May require PowerShell or another tool to ensure the versioning settings are correct on all lists. Recycle bin only can back up sites, lists and items. It cannot backup or restore anything else such as a web application, entire site collection, service applications, SharePoint root files.
- Only those who have certain roles can run the backups. For example, for PowerShell backup, they need to have securityadmin fixed server role on the SQL Server instance, db_owner fixed database role on all databases that are to be updated, apart from being part of the Administrators group on the server running the PowerShell cmdlets.
Native Recovery Options for SharePoint Sites
Consider you need to recover a SharePoint site for the ‘CRM Development’ project team and it was located at https://ppmdev.sharepoint.com/crm/. The site has been mistakenly deleted, and you now receive a 404 error when you try to access the site. Here are steps to recover SharePoint sites using native options
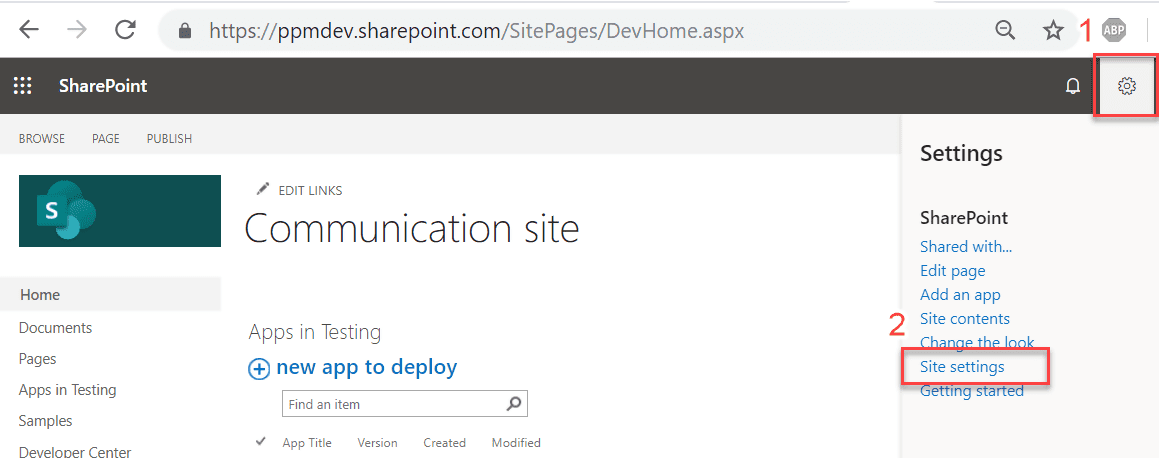
Step 1: Go to Site Settings
- Go to the root site collection of the deleted site. The link in our example is https://ppmdev.sharepoint.com/ (without subsite link ‘crm’).
- Log in as a user with the site collection admin permissions
- In the top navigation panel click Settings and then select Site settings on the dropdown menu
Step 2: Go to the Second-Stage Recycle Bin
Click Recycle bin under Site Collection Administration section
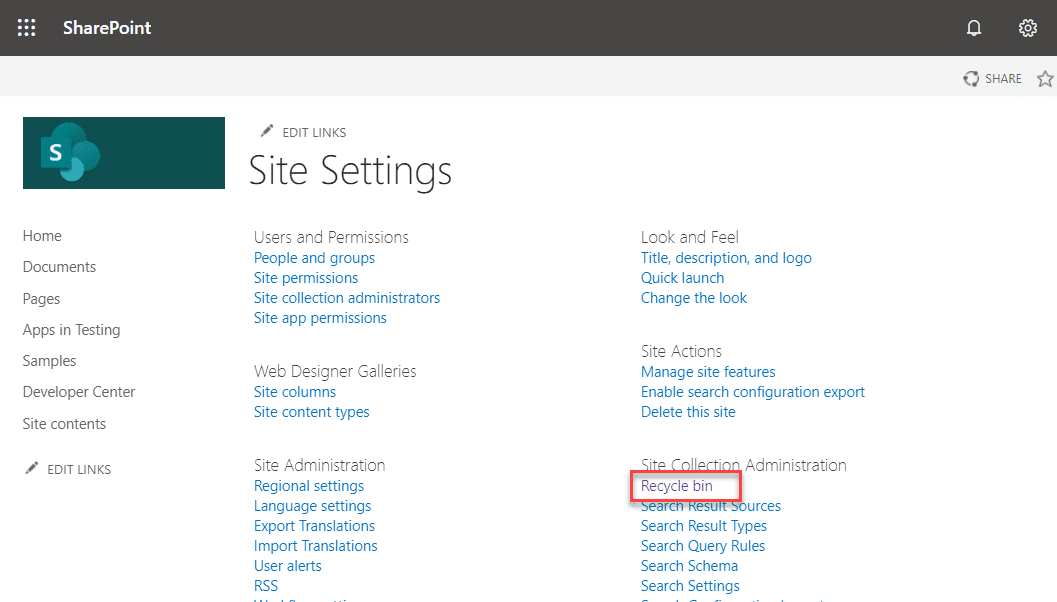
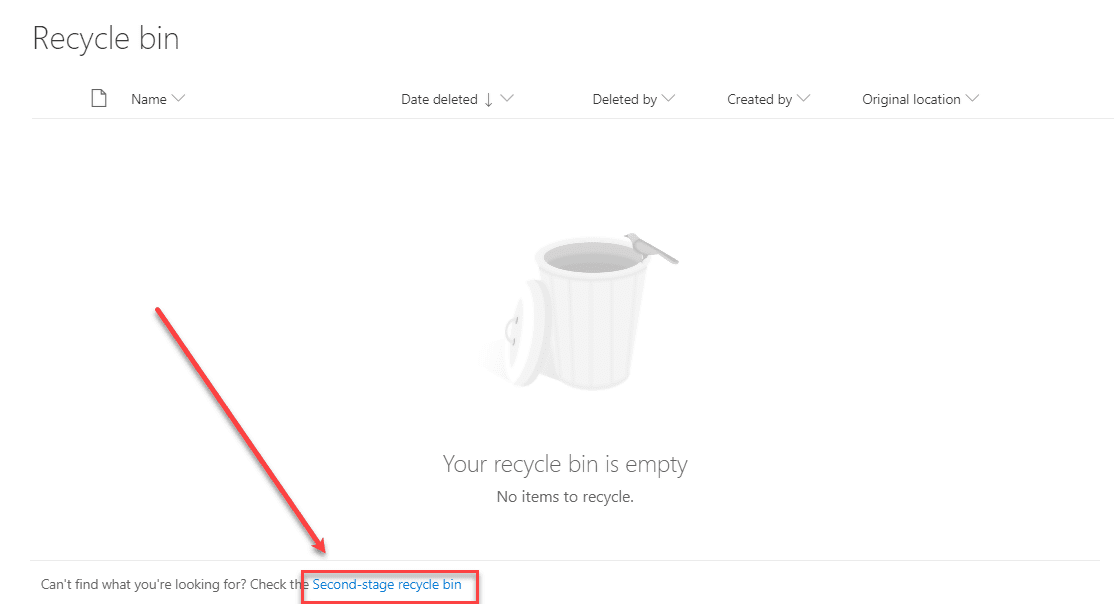
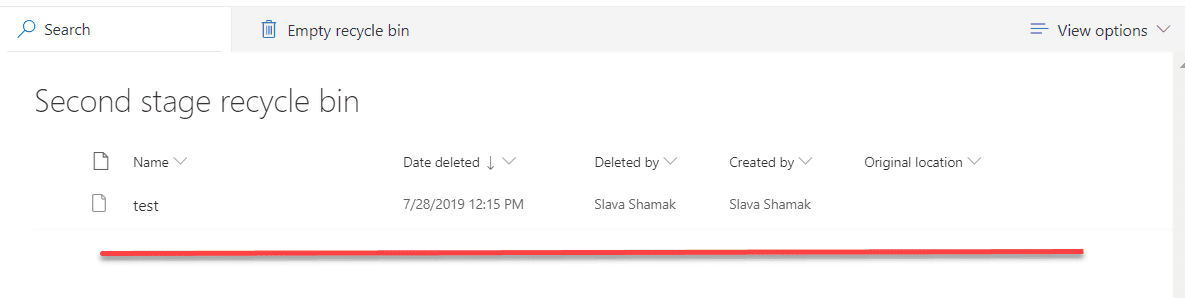
The recycle bin might be empty. Click Second-stage recycle bin at the bottom of the page
Step 3: Restore your deleted site
Select the site you want to restore and then click Restore
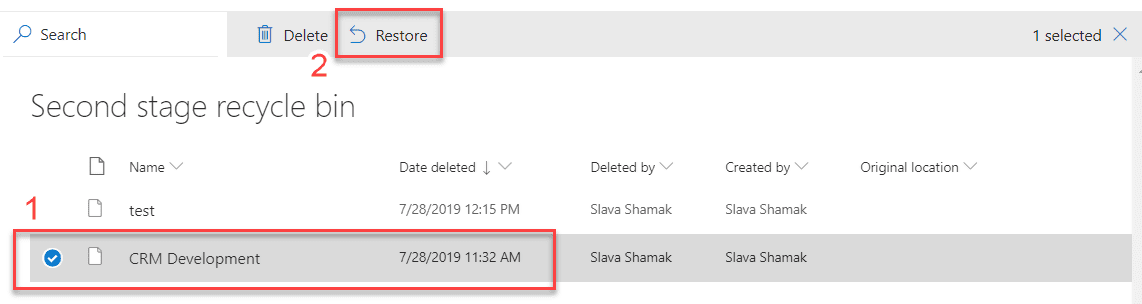
The restored site will disappear from the list after the restoring process is completed
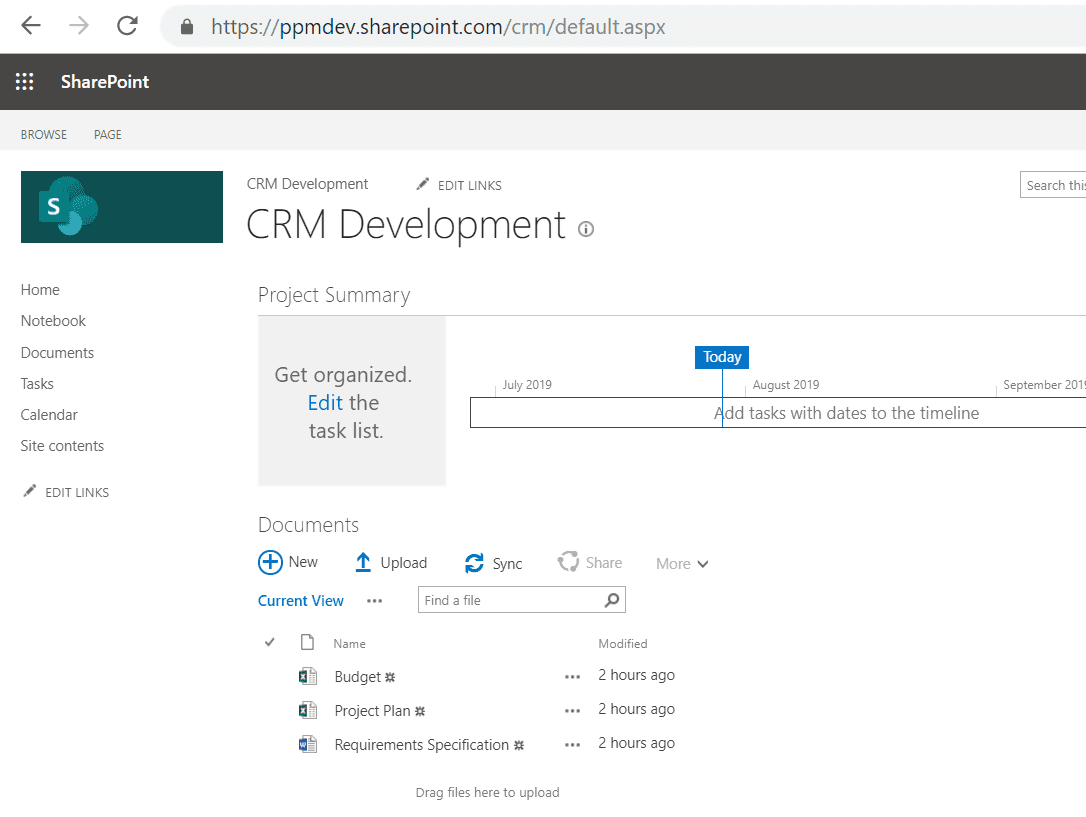
To verify that the site has been successfully restored, go to the site’s source link https://ppmdev.sharepoint.com/crm/.
For additional information, check out the Microsoft help center
Limitations to Restoring Sites from SharePoint Recycle Bin
Deleted sites are stored only for a maximum of 90 days. After the 90 day period, the deleted sites are gone forever – automatically and permanently deleted.
Additionally, the Site Collection Recycle Bin has a quota on the amount of data that can be stored in the bin. If the quota is exceeded, then the oldest items, including deleted sites, will be automatically and permanently deleted.
Backup and Restore SharePoint Sites With Third-Party Backup – The Faster and Easier Way
With rising malware scams and social engineering ploys, you can easily lose valuable SharePoint data in minutes. The key to fast disaster recovery and seamless business continuity in the face of a breach is data backup and recovery. Watch how easy it is to backup and recover SharePoint data with CloudAlly backup (we pioneered SaaS backup a decade ago and our products are proven, top-rated and secure)
SharePoint Backup in Minutes

SharePointSeamless Recovery From ANY Point-in-Time

Try it for yourself. Start a full-featured 14-day trial (NO credit card required)